As it seems one of my photography projects is coming to an end – panoplano, you may have heard of these photos being called small or tiny worlds – I have dedicated a portfolio page【link】to them. With the unstoppable progress in all instances of live photography too is seeing major leaps since the introduction of digitality, not only in the realm of hardwear say cameras capable of taking 360° photos but in the segment of software as well. Automation and advanced processor speed produce photos in an instant and thus rendering many aspects or steps in photography altogether obsolete.
— disclaimer: this is not a sponsored post although it contains brand names —
I have decided to do my first how to tutorial about #smallworld photography. This may well be a finale for me, a letting go of this passion of mine, something that once you start will devour hours. I am aware that this tutorial probably has no value for the reasons explained before, but this is where my nostalgic side emerges.
Now please make sure your browser window is big!
1. Gear
It is wise to use wide angle, but not necessary. I started with a 15mm fish eye and full frame dslr body, but after acquiring an action camera I have never used anything else for this kind of job.
2. single shot to panorama
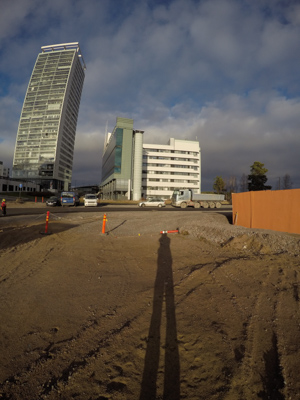
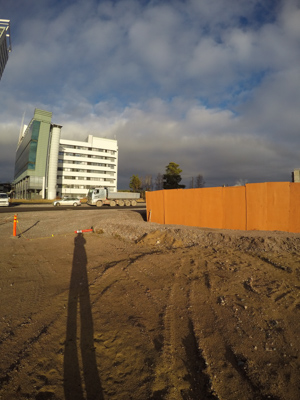
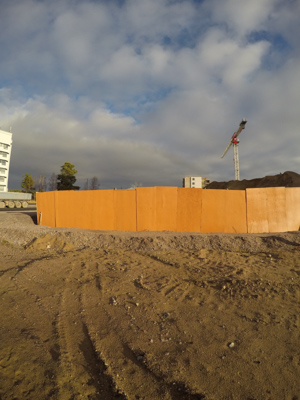
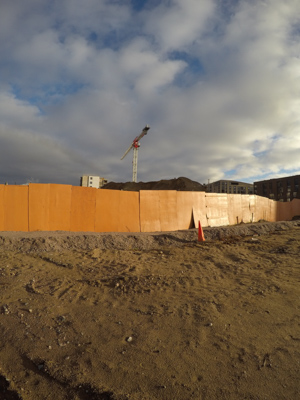
You may use a tripod but unless it is dark I do not use one. If you are taking 360° photos manually for the first time you may want make sure you remain on the same spot while turning around your own vertical axis and taking the 12-15 photos and you absolutely want to keep the level (horizon) of each photo at the same height, otherwise your panorama will fail – furthermore refrain from tilting the camera!
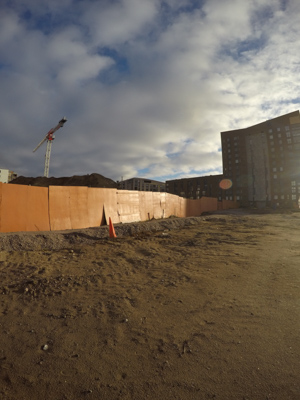
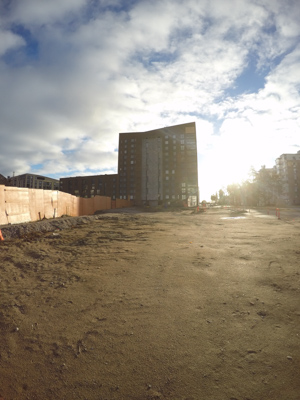
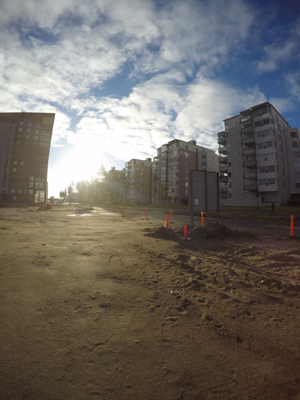
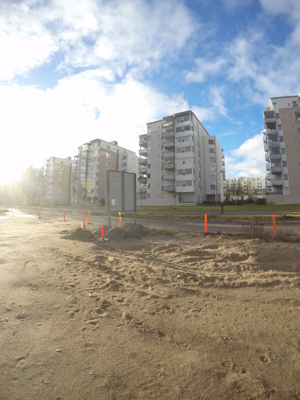
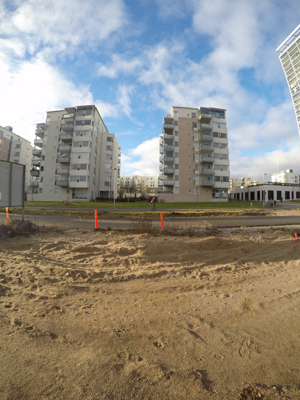
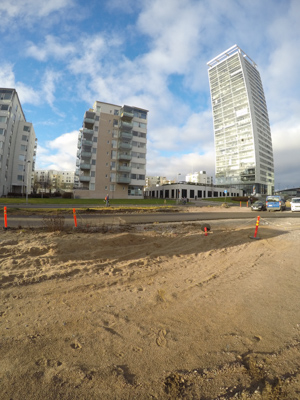
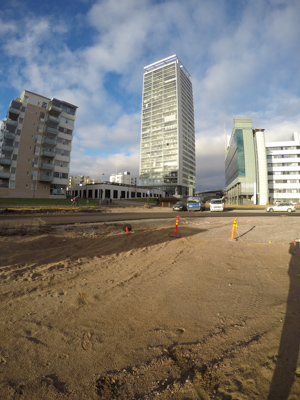
On your computer use any panorama stitching software you like, I use Adobe’s Lightroom which does an excellent job here. Below the 12 single photos used this demo.

3. cropping the panorama
With the ready panorama photo you need to make sure that the horizon on both sides is leveled. Otherwise when processing the panorama to a sphere the ends meeting will not connect. Should that happen you need to either re-level the panorama or do some time consuming photoshopping. In addition this is the moment to decide how large or small a core your tiny world shall have. The flatter the panorama and the less of the bottom part you have thus the more the above – usually sky – the longer and slimmer in other words the more accentuated the objects above ground become in the final photo.
Below a show case of a larger and a smaller centre, first up the panorama of the photo resulting in a smaller core.
And then the “thicker” panorama giving in a larger core. Right after step 4 you will see both small world photos with the different sized centres.
4. in photoshop
open the panorama in photoshop and follow these simple three steps.
- make the panorama photo a square sized photo (in OS X) -> alt+command+I (uncheck Constrain Proportions), then either match width to height or vice versa.
- Rotate image 180° -> Image -> Image Rotation -> 180°
- Apply the Polar Coordinates filter -> Filter -> Distort -> Polar Coordinates… (Rectangular to Polar)
Here is my Photoshop action – panoplano, please help yourself to it if you wish.
to the left the small world with a large centre
and to the right the small world with a proportionally smaller core
5. Apply some make up
The small world photo is ready. Below in the left hand side example you will notice some irregularities caused by the polar coordinates filter. This needs some attention. A clear blue sky or a dull grey overcast day really are time savers when it comes to photoshop. Indoor shots are a different story altogether… and if you are a photoshop wizard you can tackle those. I have done two, no more!
Now this the moment to enhance the photo to your liking. I prefer to bring the photo back to LR and do my thing there.
That’s about it. With time and experience you will see and anticipate good cases for small world photos as not all scapes (land, sea or any other) are useful. What I still have not figured out is where to start with the panorama’s first photo so I get the ends where I want them.
Please let me know about your progress!
Hi to hopefully help you in your last paragraph..
when doing a panorama I always start with the center image, so if 5 photos I make visible pics 3+4 then 5.. 2..1
less warping on pictures 5 and 1 , if you start with 1+2 and work towards pic 5 then there is twice the warping if not careful on the 5th photo.
Mark,
great one, thanks. Are you referring to manual stitching? I cannot remember when I have done that the last time =) but I appreciate your point!